Craftsmanship & History
How a piece of raw iron is transformed into a razor-sharp masterpiece through centuries-old traditions.
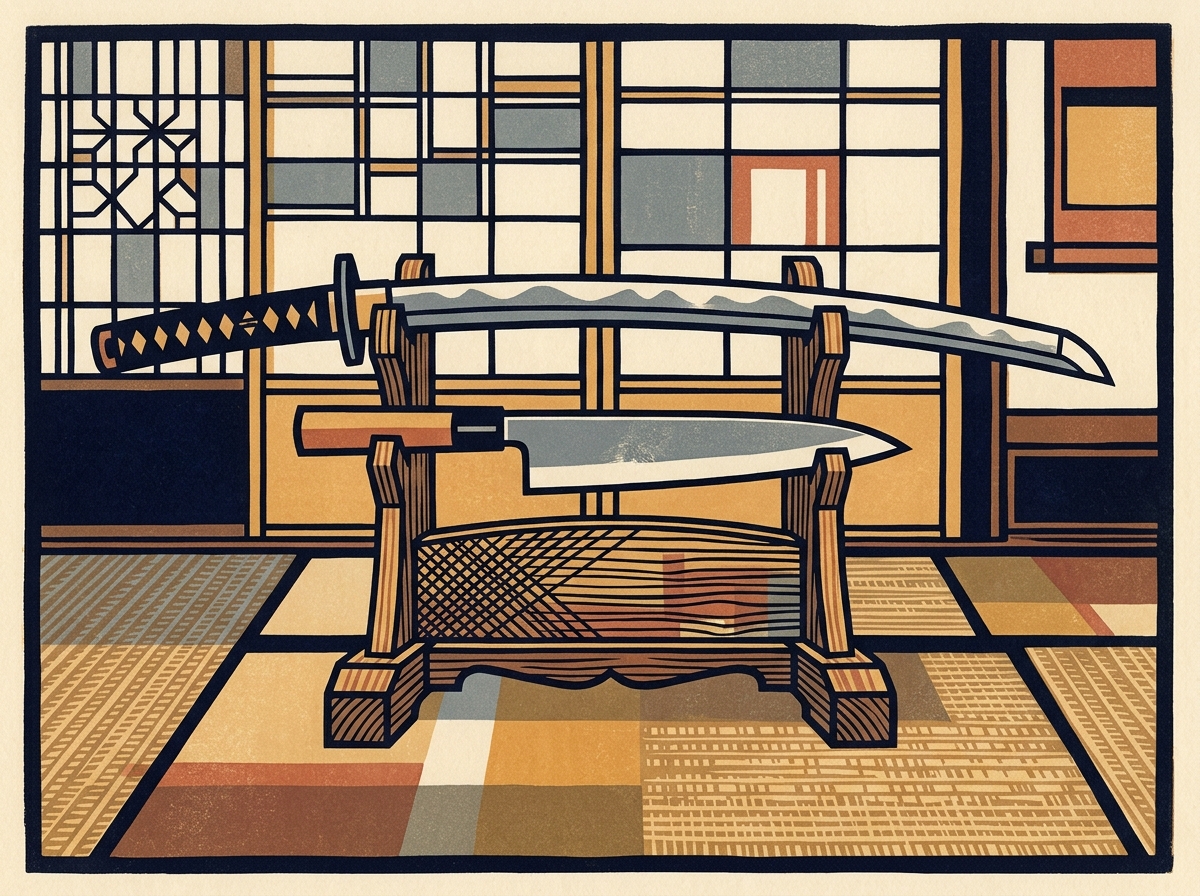
The Evolution from Katana to Kitchen
During the warring states period, Japanese swordsmiths were tasked with creating the ultimate combat weapons—swords that would not bend, break, or lose their edge. When the Edo period ushered in over 260 years of peace, swordsmiths shifted their skills toward household tools like sickles, tobacco knives, and grooming shears.
The final transition occurred in 1876 with the Haitorei (Sword Abolition Edict), banning swords in public. Swordsmiths adapted by focusing entirely on civilian cutlery. Today, their direct descendants continue to forge world-class kitchen tools using the exact same fire, steel, and dedication.
The 10 Steps of Sakai Blade Forging
Centuries-old heritage of fire-forging and forge-welding. Each blade is hand-hammered and heat-treated one by one through master artisans' intuitive mastery of hearth and anvil.
1. Hagane-tsuke (Laminating Core Steel)
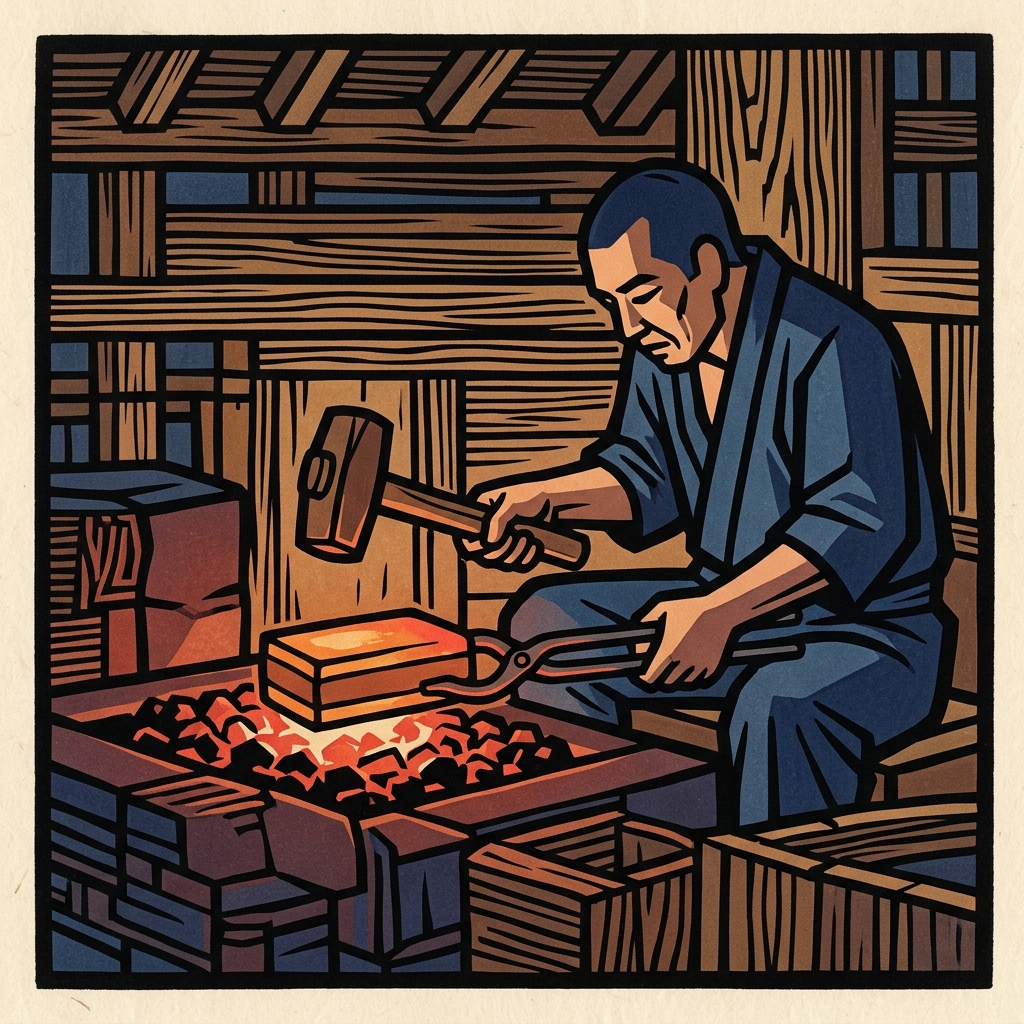
Forge-welding soft iron (jigane) with high-carbon steel (hagane). The red-hot iron is hammered, paired with core steel using flux (boric acid, borax, and iron oxide), and heated in the forge to bond them together.
2. Sakizuke & Kiriotoshi (Pre-forming & Cutting)
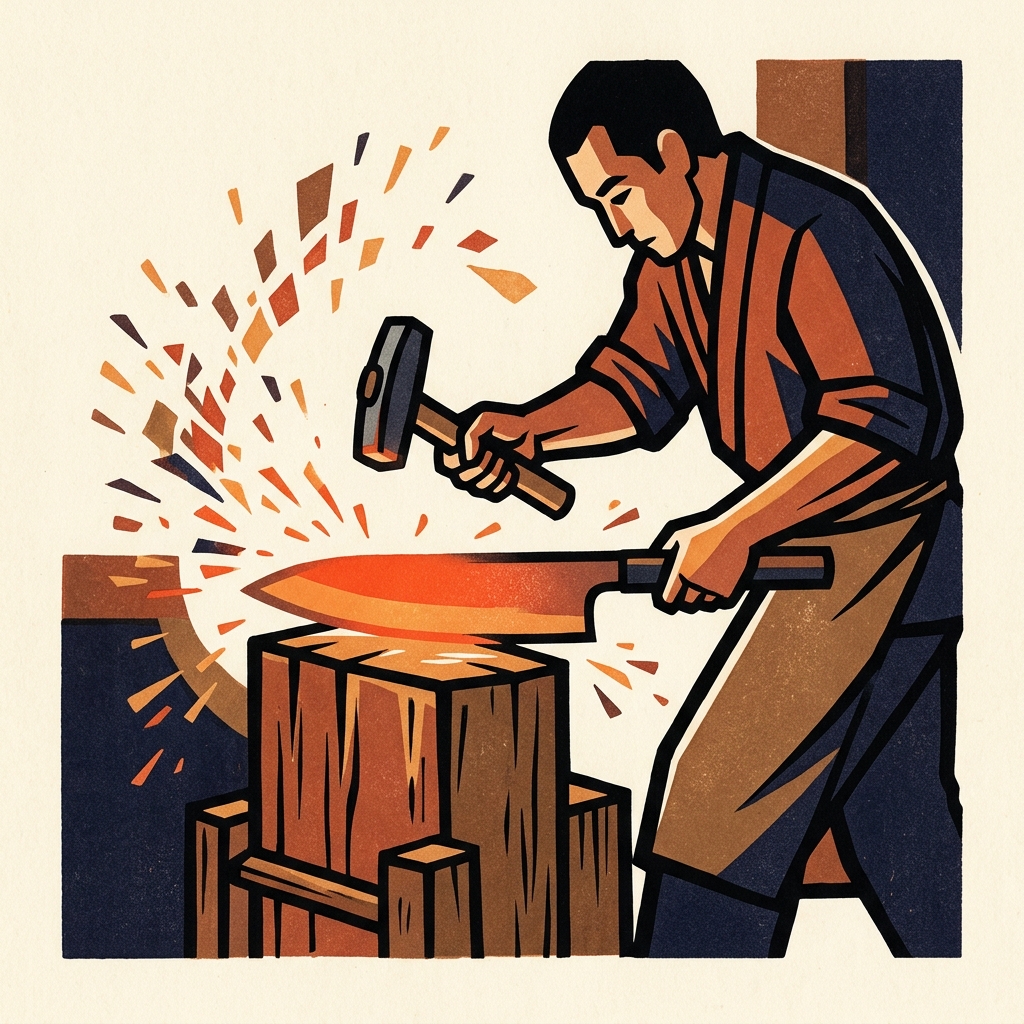
Using a power hammer, the blade material is shaped into the rough profile of a knife, elongating and blending the metals. Once shaped, the excess is cut off with a cold chisel.
3. Nakagotori & Seikei (Tang Shaping & Profiling)
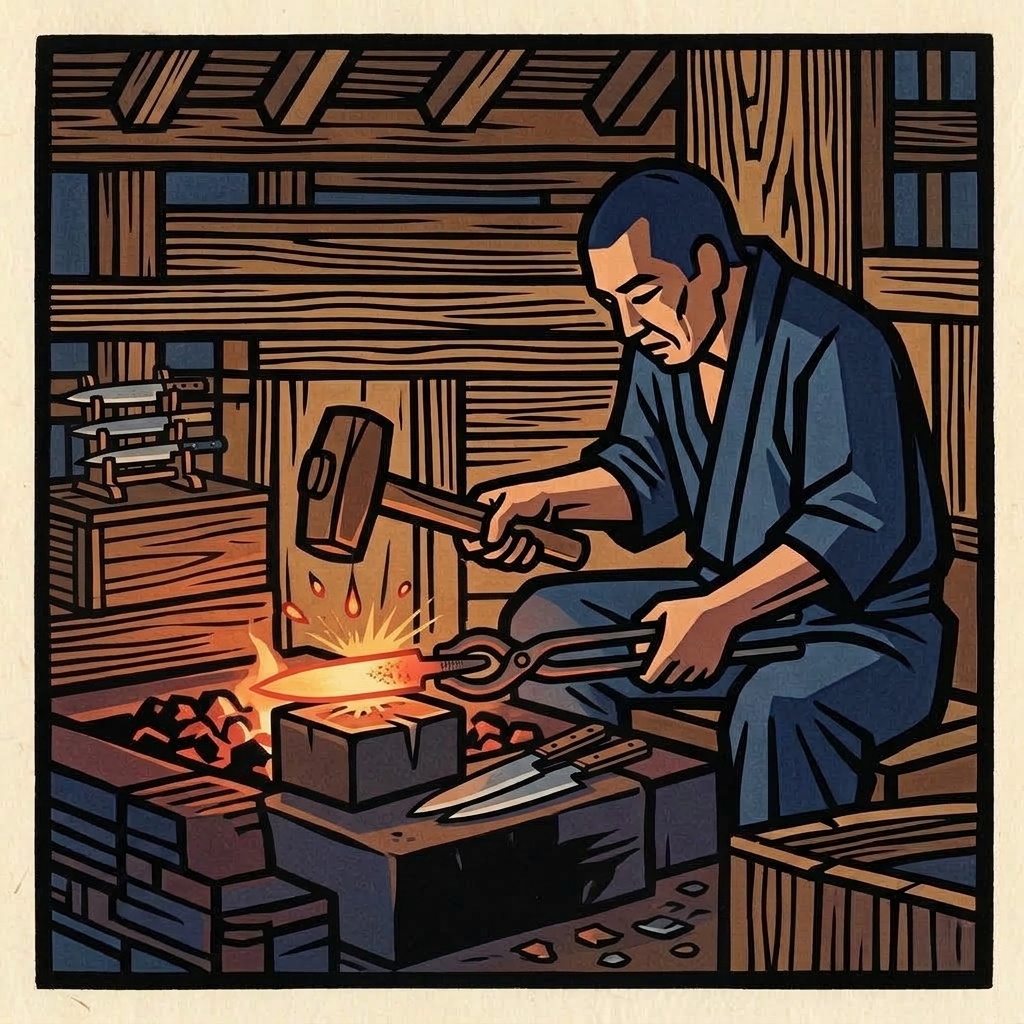
The blade is reheated in the forge and shaped with a hammer. The tang (nakago)—the part that extends into the wooden handle—is drawn out and precisely hammered into form.
4. Yakinamashi (Annealing)
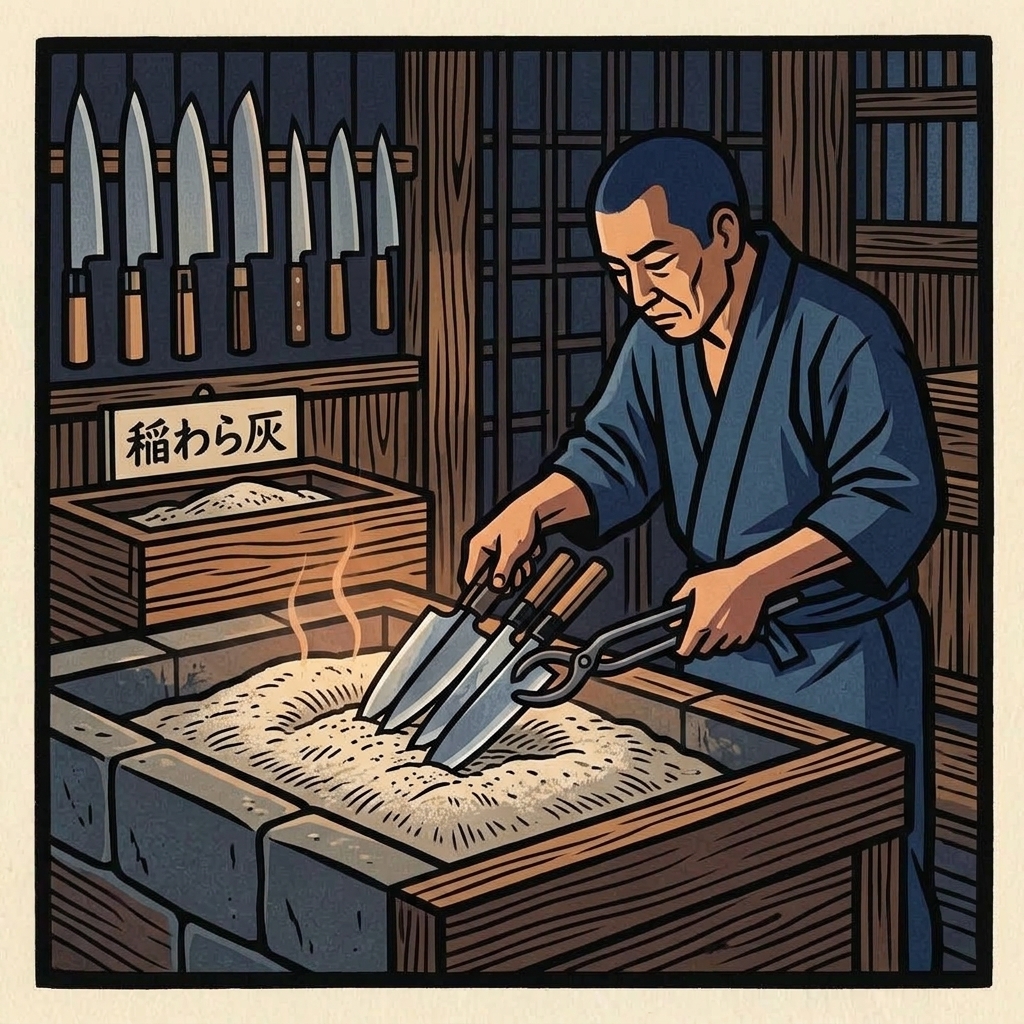
The shaped blade is placed inside rice straw ash to cool slowly and naturally. This annealing process relieves internal stresses in the steel and softens the structure for precise subsequent processing.
5. Aratataki & Urasuki (Cold Hammering & Hollow Grinding)
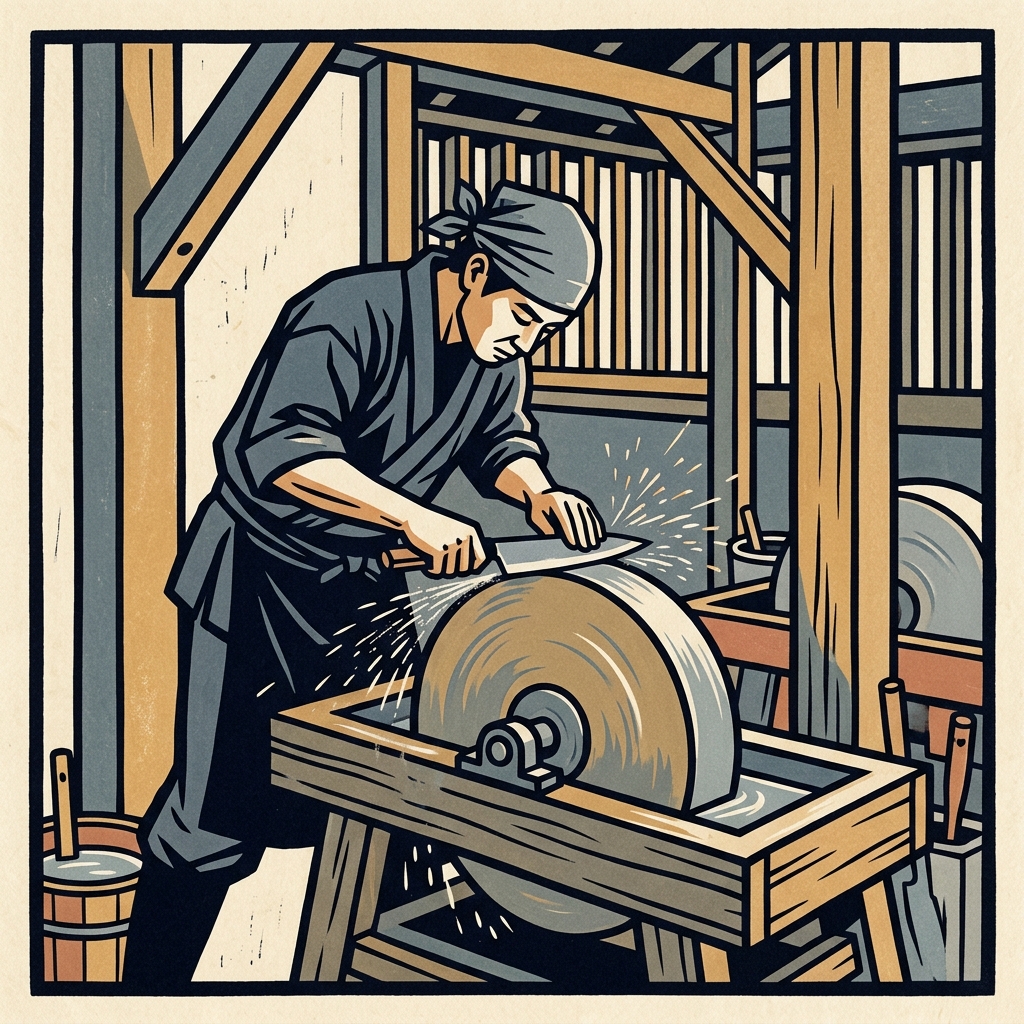
Scale and oxidized film are hammered off the cooled blade, followed by rough cold-hammering. The back side is then ground to create a concave hollow (urasuki), which ensures clean food release.
6. Finishing Hammering & Trimming
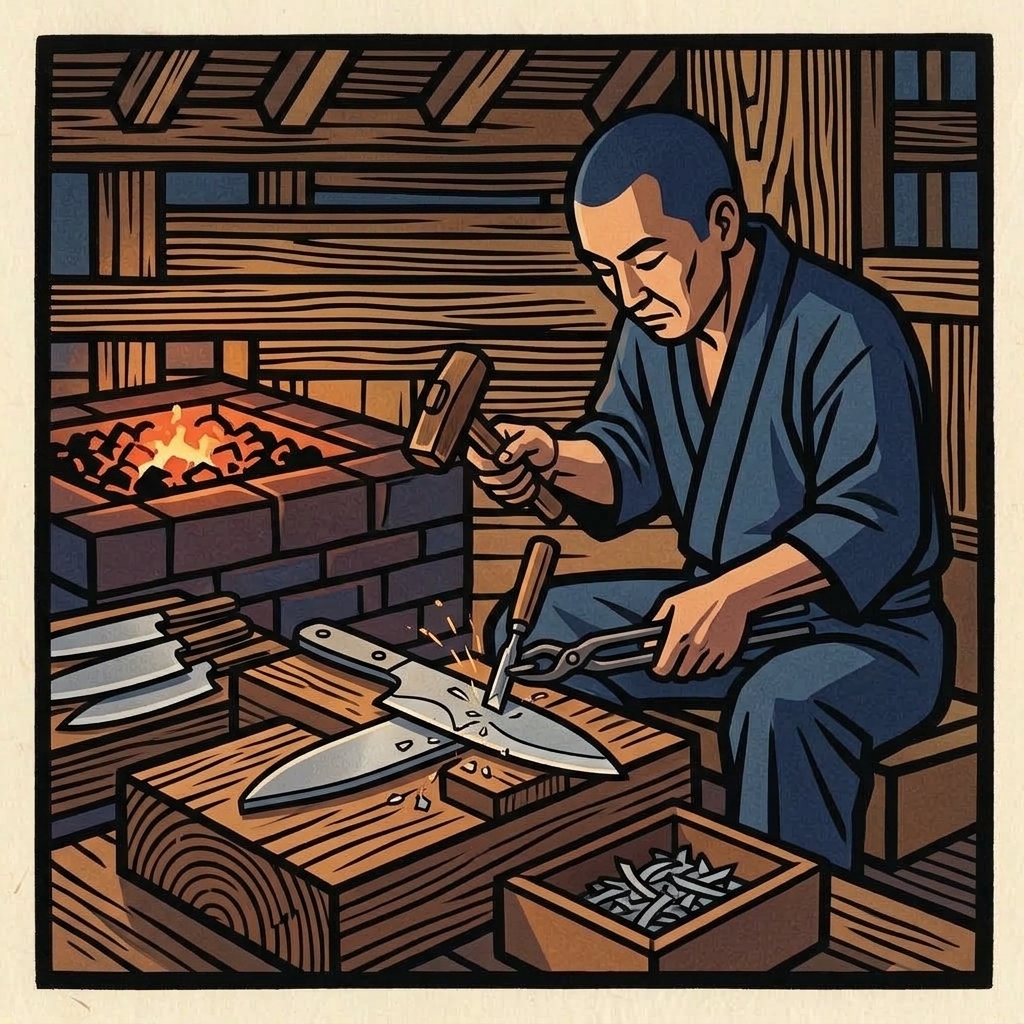
The blade is meticulously hand-hammered to compact the metal grain and eliminate warpage. The elongated blade is then trimmed along a master template to finalize its exact outer profile.
7. Kokuin-uchi & Surimawashi (Stamping & Grinding)
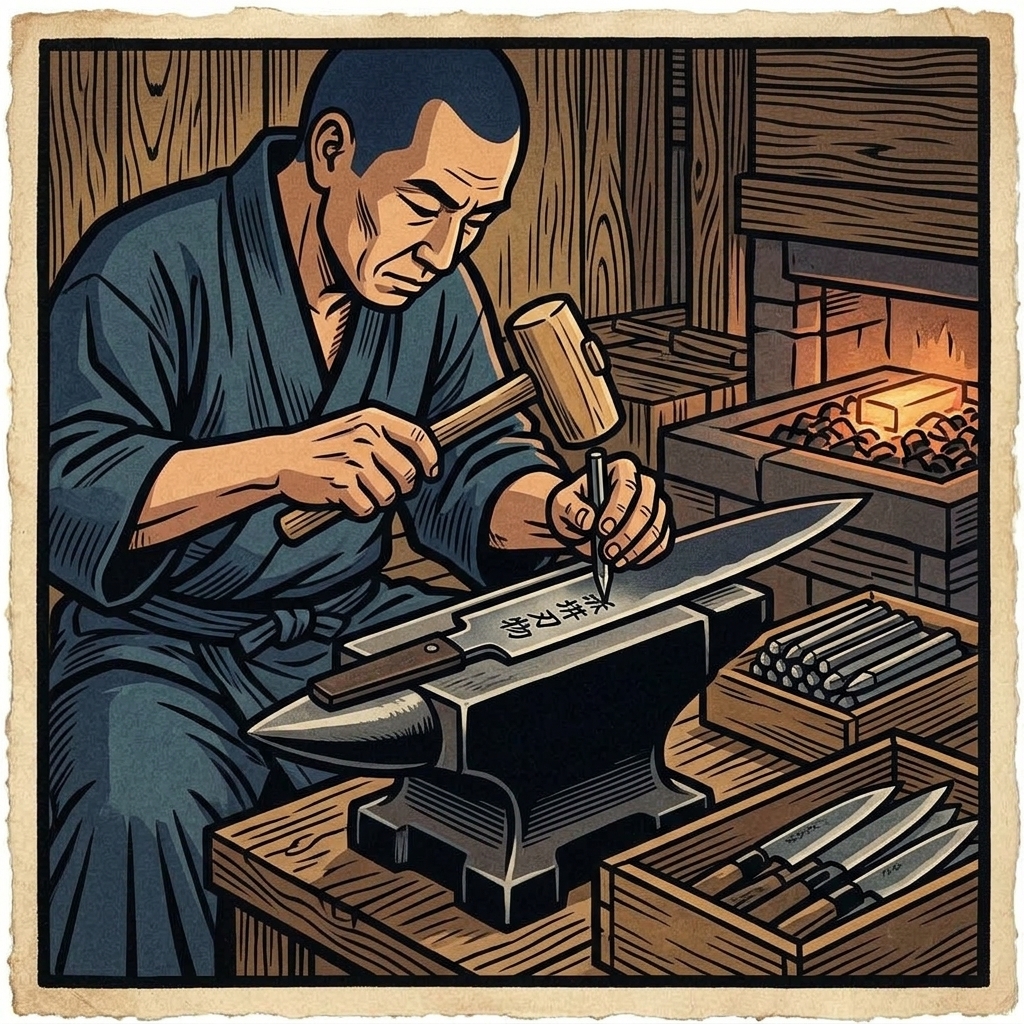
After straightening, the maker's brand mark is chiseled into the back of the blade. The blade is then ground smooth along its edges on a grinder, and re-checked for subtle twists.
8. Doro-nuri & Yaki-ire (Clay Coating & Quenching)
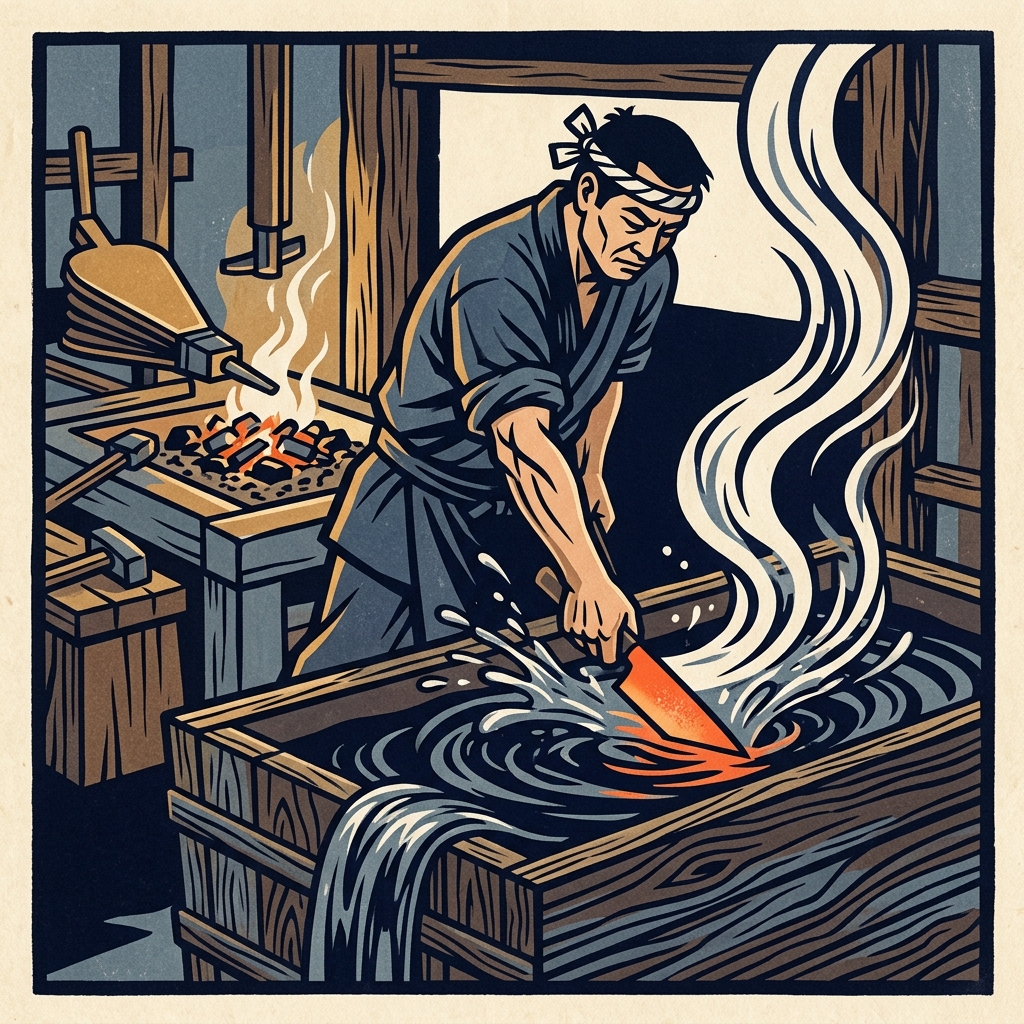
Clay paste is applied to prevent heat irregularities and bubbles. Heated to 750–800°C and plunged instantly into water, the rapid quench transforms the carbon steel into a glass-hard, razor-edge matrix.
9. Yaki-modoshi (Tempering & Descaling)
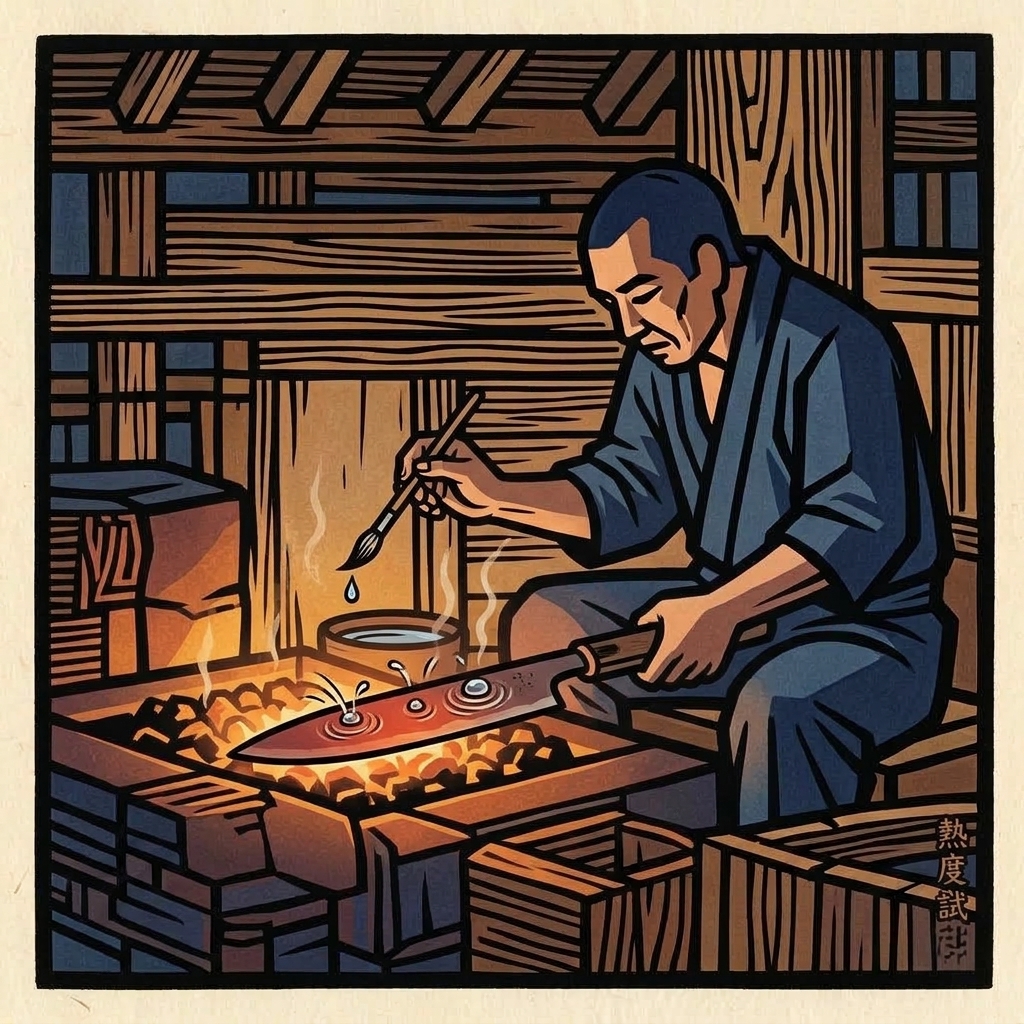
After removing the clay, the blade is reheated to 160–180°C. Master smiths traditionally judge temperature by the speed of evaporating water droplets. This tempering grants resilience and toughness, preventing brittle chipping.
10. Hizumi-naoshi (Final Straightening)
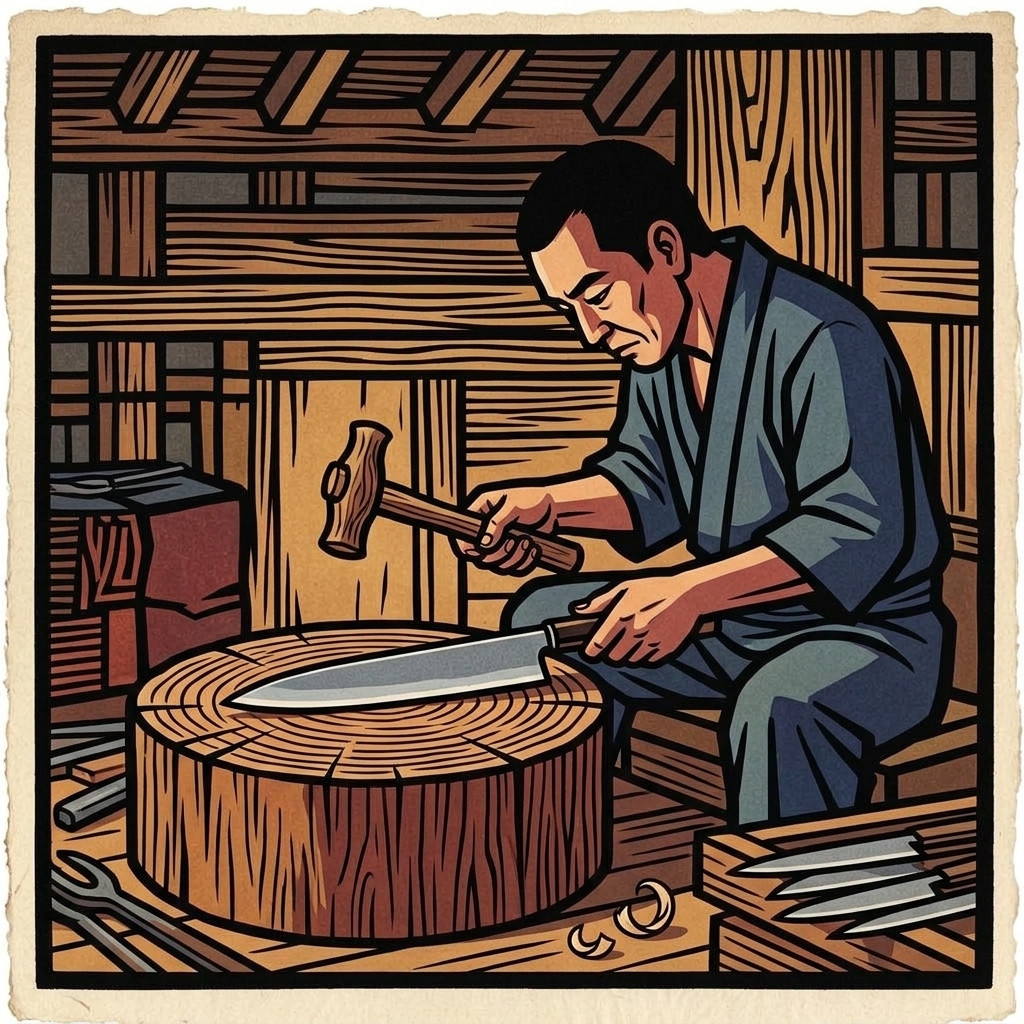
To correct minute curves and warps caused by the intense heat shock of quenching, the blade is rested on a wooden anvil block and gently tapped with a hammer until dead straight.